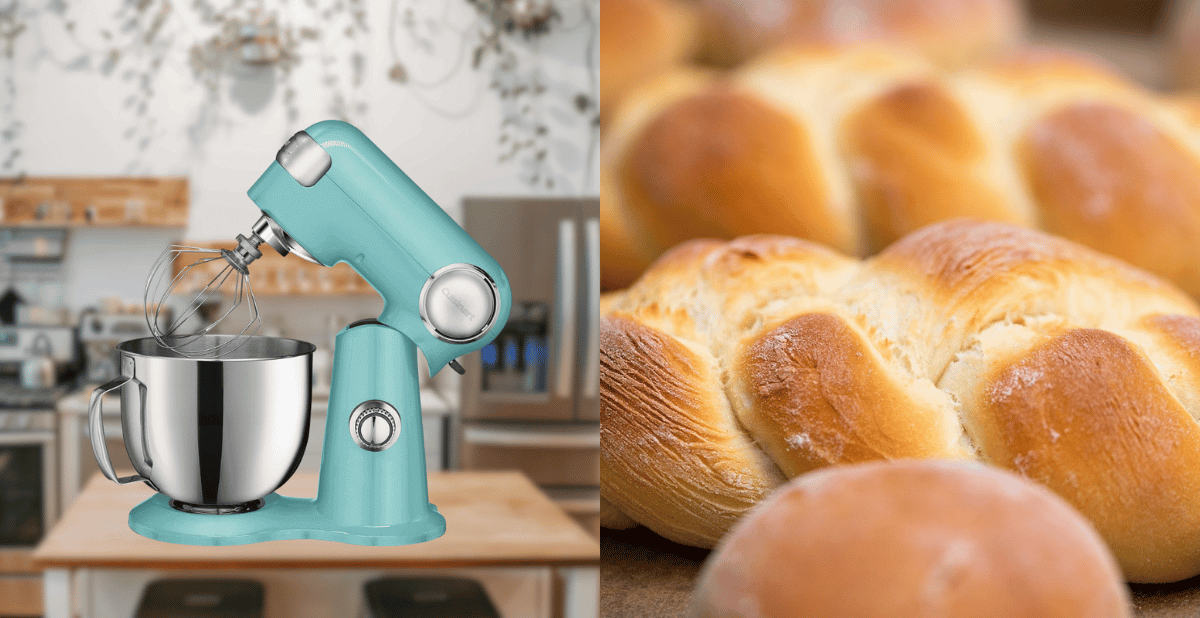
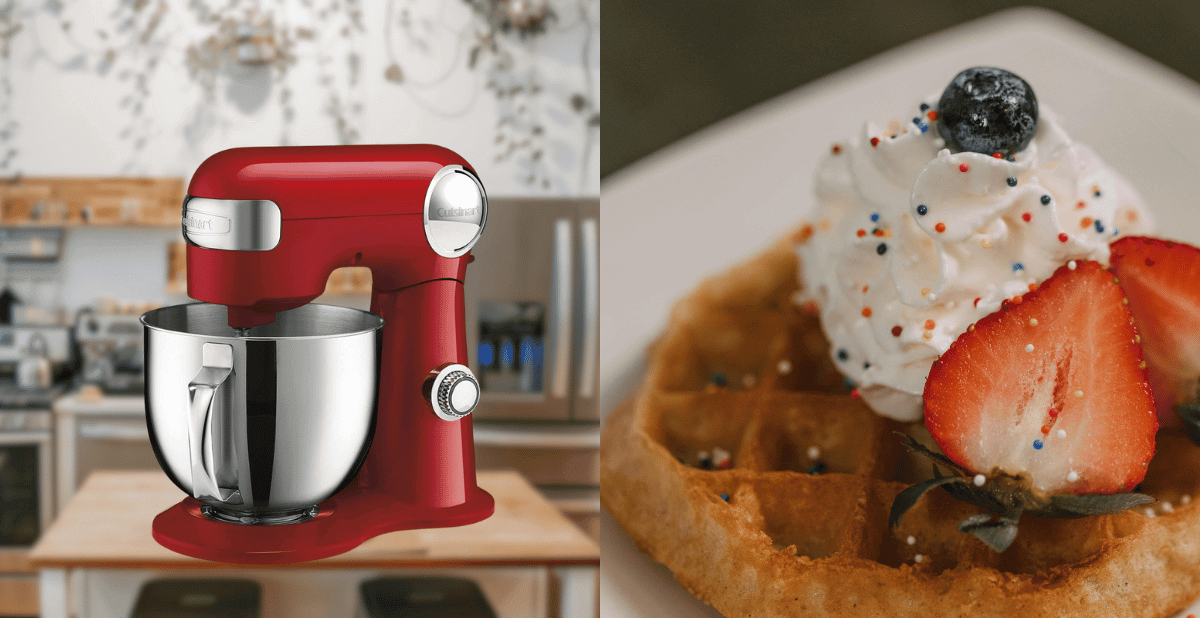
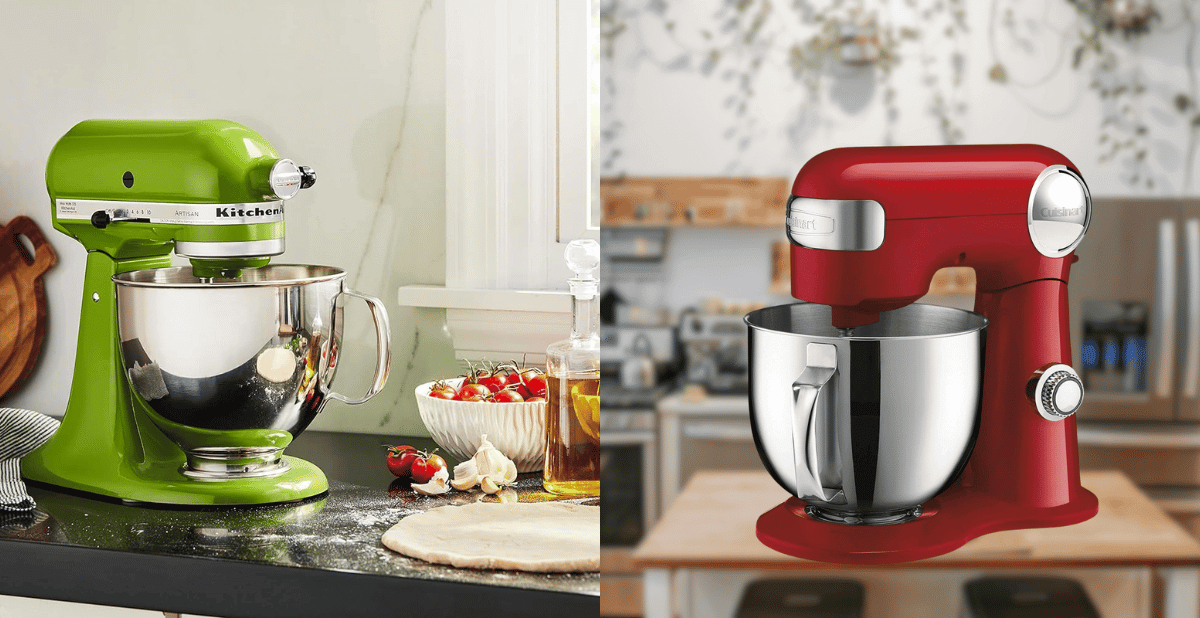
Whether you're a baking enthusiast or a professional chef, knowing how to clean a Cuisinart Stand Mixer is essential. I've had to learn the hard way to clean right after use to avoid stuck dough! 💖
Keeping your Cuisinart in pristine condition is not just about maintaining its sleek look; it's also about ensuring its longevity and performance.
This comprehensive guide will walk you through the process, ensuring that your mixer remains a reliable partner in your culinary adventures.
Key Takeaways:
- Understand the essential steps to clean each component of your Cuisinart Stand Mixer.
- Learn the importance of using suitable cleaning materials to avoid damage.
- Discover maintenance tips to keep your mixer running at its best.
Pre-Cleaning Preparation
Before cleaning, please ensure your Cuisinart Stand Mixer is unplugged from the power source.
This is a critical safety instruction to prevent any accidents.
Read the instruction book carefully to familiarize yourself with the parts of your mixer and the manufacturer's recommended cleaning methods.
Disassembling Your Mixer
Begin by removing the attachments from your Cuisinart Stand Mixer.
The flat mixing paddle, dough hook, and chef's whisk should be detached from the stand mixer head.
If your model includes a splash guard or meat grinder, remove these as well.
Check the assembly instructions to ensure that each part is aligned correctly before you proceed to clean.
Cleaning the Mixing Bowl
The stainless steel bowl is one of the most used components and can be cleaned with warm, soapy water.
For a clean bowl, rinse it thoroughly to remove any dish soap residue.
The bowl is dishwasher-safe, so you can conveniently avoid hand washing.
Tackling the Attachments
Attachments like the flat mixing paddle, dough hook, and chef's whisk can also be washed in warm, soapy water or the dishwasher.
However, avoid using steel wool or a wire brush, as these can scratch the surface of your attachments.
The Stand Mixer Head
Wipe down the stand mixer head with a damp cloth.
Pay attention to the speed control dial and head lift release lever, ensuring food residue is free.
Do not immerse the stand mixer head in water or place it in the dishwasher, which can damage the electrical components.
Speed Control and Settings
The speed control dial should be cleaned with a soft, damp cloth.
Refer to the speed control guide to understand the desired speed setting for different tasks and ensure the dial functions correctly after cleaning.
The Stand Mixer Base
The stand mixer base is your appliance's powerhouse.
Use a damp cloth to wipe it down, and be careful around the power unit and electrical components.
Never submerge the base in water.

Optimizing Your Stand Mixer's Performance
Regular maintenance is key to getting the most out of your stand mixers.
Ensuring that each component functions correctly improves your mixer's efficiency and lifespan.
Start by checking the alignment of the beater to the bowl; there should be a slight clearance to prevent scraping.
If you notice any inconsistencies, refer to your Cuisinart manual for adjustment instructions.
Additionally, keep an ear out for any unusual sounds during the operation, which could indicate a loose part or something more serious that needs attention.
To further optimize performance, make it a habit to inspect the power cord and plug for any signs of wear or damage.
Safety instructions dictate that electrical issues should be addressed immediately to prevent hazards.
Also, consider the environment in which you use your mixer.
A stable, level surface is crucial for proper operation, and avoiding extreme temperatures can prevent unnecessary strain on the motor.
By being proactive with these checks, you'll ensure your stand mixer operates at peak performance for all your culinary creations.
Maximizing the Efficiency of Your Chef's Whisk
The chef's whisk, an often underappreciated attachment, can be your secret weapon in the kitchen when used to its full potential.
To maximize the efficiency of your chef's whisk, start by ensuring it's properly attached to your Cuisinart Stand Mixer.
A secure fit is crucial for optimal performance.
When whipping up meringues or airy batters, let the mixer run at a higher speed to incorporate more air, but be mindful not to overmix, as this can lead to a less desirable texture in your final product.
In addition to whipping creams and egg whites, your chef's whisk can be employed innovatively.
Consider using it to mash potatoes for a lighter, fluffier consistency or to mix pancake batter on a busy morning quickly.
The key is experimenting with different speeds and ingredients to discover new culinary possibilities.
Remember, the chef's whisk isn't just for desserts; it can also be a valuable tool for savory dishes, adding a touch of finesse to your cooking repertoire.
Cleaning and Maintaining Your Chef's Whisk
Keeping your chef's whisk in top condition is essential for longevity and performance.
After each use, cleaning the whisk thoroughly is important to prevent any residue build-up.
Start by rinsing it under warm water to remove any large particles.
Then, soak it in warm water and mild detergent to loosen any remaining bits.
A soft brush can gently scrub the wires, ensuring that all the nooks and crannies are reached without damaging the attachment.
Once cleaned, dry your chef's whisk immediately to prevent water spots or rust formation.
Since your whisk is dishwasher-safe, you can opt for a more convenient cleaning in the top rack of your dishwasher.
However, hand washing is often recommended to maintain the integrity of the metal.
Store your chef's whisk in a dry place, and consider hanging it to avoid deformation of the wires.
Proper maintenance will ensure that your chef's whisk remains reliable for all your mixing needs.
Accessory Port and Attachment Port
If your Cuisinart Stand Mixer comes with an accessory port for attachments like a pasta maker, ensure that the port cover is securely in place after cleaning.
The attachment port where you connect your mixing tools should also be wiped clean and checked for any food particles.
Post-Cleaning Assembly
Once all parts are dry, reassemble your stand mixer.
Follow the assembly instructions to ensure that each component, including the locking screw, is properly aligned and secure.
Maintenance Tips
Regular maintenance, such as checking the extension cord for damage and ensuring that the splash guard is intact, will help prolong the life of your stand mixer.
Continuously operate the mixer at the desired speed setting for the task at hand to prevent wear and tear.
Storage Solutions
After cleaning and maintenance, store your Cuisinart Stand Mixer in a dry place.
If you use an extension cord, coil it properly to avoid damage.
Cover the mixer to protect it from dust.
Troubleshooting Common Issues
If you encounter issues with your stand mixer, consult the Cuisinart precision master manual.
It includes a troubleshooting section that can help you resolve common problems.
Natural Cleaning Alternatives
For those who prefer natural cleaning solutions, baking soda and warm water can clean the mixing bowl and attachments.
Rinse thoroughly with hot water to ensure no baking soda residue remains.
Avoiding Harsh Chemicals
It's important to avoid harsh chemicals when cleaning your Cuisinart Stand Mixer.
Stick to mild dish soap and warm water to prevent damage to the stainless steel bowl and other components.
Ensuring Longevity
By following these cleaning steps and using suitable materials, you can ensure the longevity of your Cuisinart Stand Mixer.
Regular cleaning also contributes to consistent performance, allowing you to whip up stiff peaks or knead dough to perfection every time.

Until Next Time...
Cleaning your Cuisinart Stand Mixer is a straightforward process that, when done regularly, can significantly extend the life and performance of your appliance.
Disassemble and clean each part carefully, using warm, soapy water or a dishwasher where appropriate.
Avoid harsh chemicals and abrasive materials, and always ensure that the mixer is unplugged before cleaning.
Following these steps and maintaining your mixer will keep running smoothly for years.
Thank you for stopping by,
MommaPuff


